|
Gilded text


For this tutorial you'll need psp 7. Get it from Jasc.com
(download trial version)
Get Superbladepro here
if you do not have it.
Download font Caligula here
Download Gold preset
here Extract these files in your preset or Environment and texture folder.
It should be something like C:\Program Files\Jasc Software Inc\Paint Shop
Pro 7\Presets
Ok let's begin!
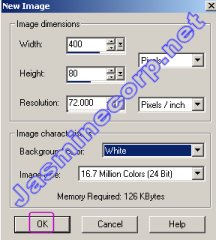
Open new image with these settings.
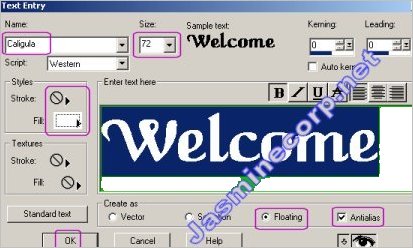
Now select Text tool  from vertical tool bar. Type Welcome with these settings. I've used font Caligula.
You can choose any desired font or the one you've downloaded. Keep color white
or #DED3B6 to get good golden color.
from vertical tool bar. Type Welcome with these settings. I've used font Caligula.
You can choose any desired font or the one you've downloaded. Keep color white
or #DED3B6 to get good golden color.
Now your image should look like this. You can see marching ants. Don't deselect
it.

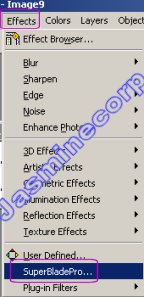
Now Click on Effects - Superbladepro
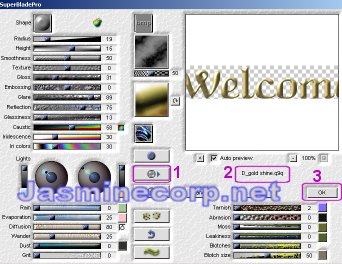
Now as shown in pic,
No 1 - Click to select the bladepro preset from your browser. Now a dialog box
will pop open select D_gold shine.q9q or Gold shiny.q9q preset from your preset
folder. Keep settings as default.
No 2 - Shows the preset name it should be D_gold shine.q9q or the other one.
No 3 - Click ok.
Now your text should look like this. (If you need to make text little lighter
then click on top menu Color Adjust - Brightness/Contrast and adjust it according
to your need.)
Note: If your text does not look good golden try #DED3B6
color on text instead of white.

Make sure that Welcome is still selected.
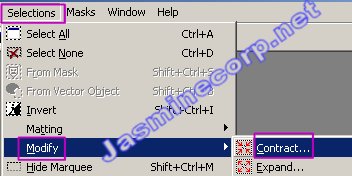
Click on Selections menu then Modify then Contract.
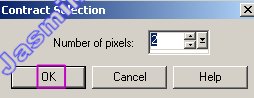
A dialog box will pop open. Keep number of pixels 2 and click ok.
Now make your background color as red.
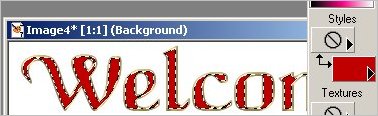
Your text is still selected hit delet to fill red color in text. (if that method
is not working for you then flood fill  the selection area with red color.) the selection area with red color.)
Now your image should look like this.
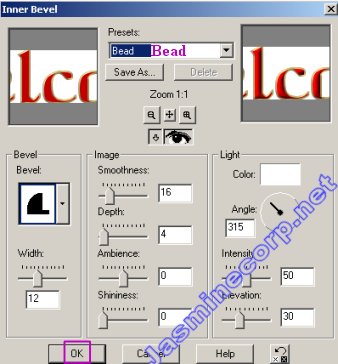
Now click on Effects menu then 3D Effects - Inner Bevel.
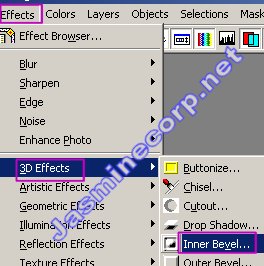
A dialog box will pop open. setting should be like this. Click ok.
Note: Try different options instead of Bead you'll get different shape and color
of text.
That's it you are done!
You can also apply drop shadow for better look. Use gradient color
for two or more color.

--------------------------------------------------
|